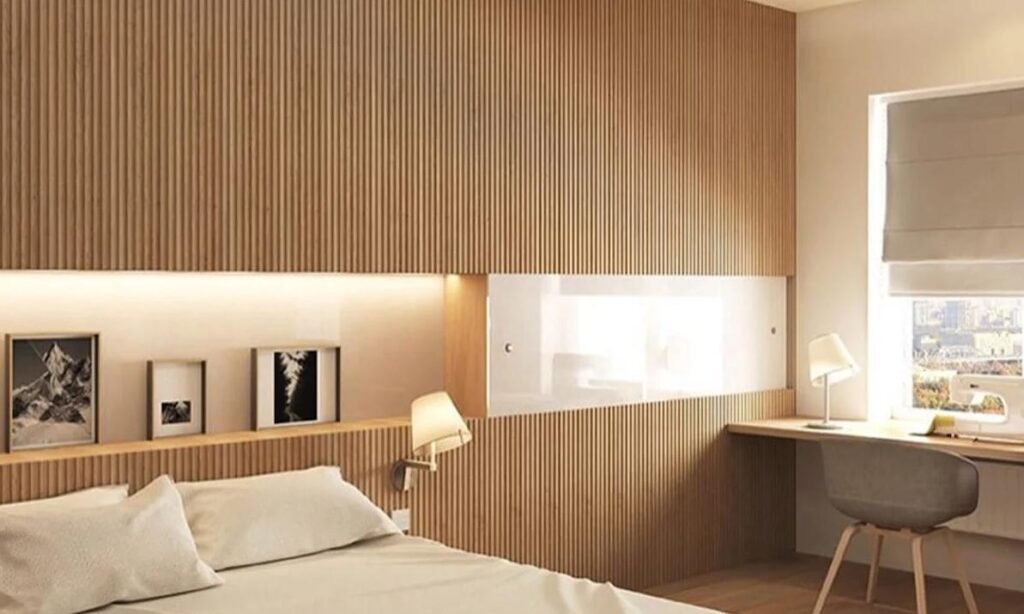
Have you ever been captivated by those modern home designs full of layers and light and shadow on Instagram or Pinterest? Among them, wpc wood wall panel are absolutely the “secret weapon” to creating a high-end feel. They not only instantly enhance the texture of a space but also, through their unique textures and patterns, tell a unique aesthetic story for your home.
However, a common misconception is that wpc wood wall panel installation is simple—just glue it on. The result is often misalignment, instability, large gaps, and a high-end feel instantly turning into “cheapness.”
This guide will start from scratch, taking you step by step through all the difficulties, and work with you to create a perfect WPC wall like a magazine cover. Let’s get started!
Planning and Inspiration Collection Before Installation
Before picking up any tools, successful installation begins with meticulous planning. This step determines the final visual effect.
1. Find Your Style:
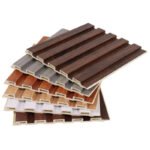
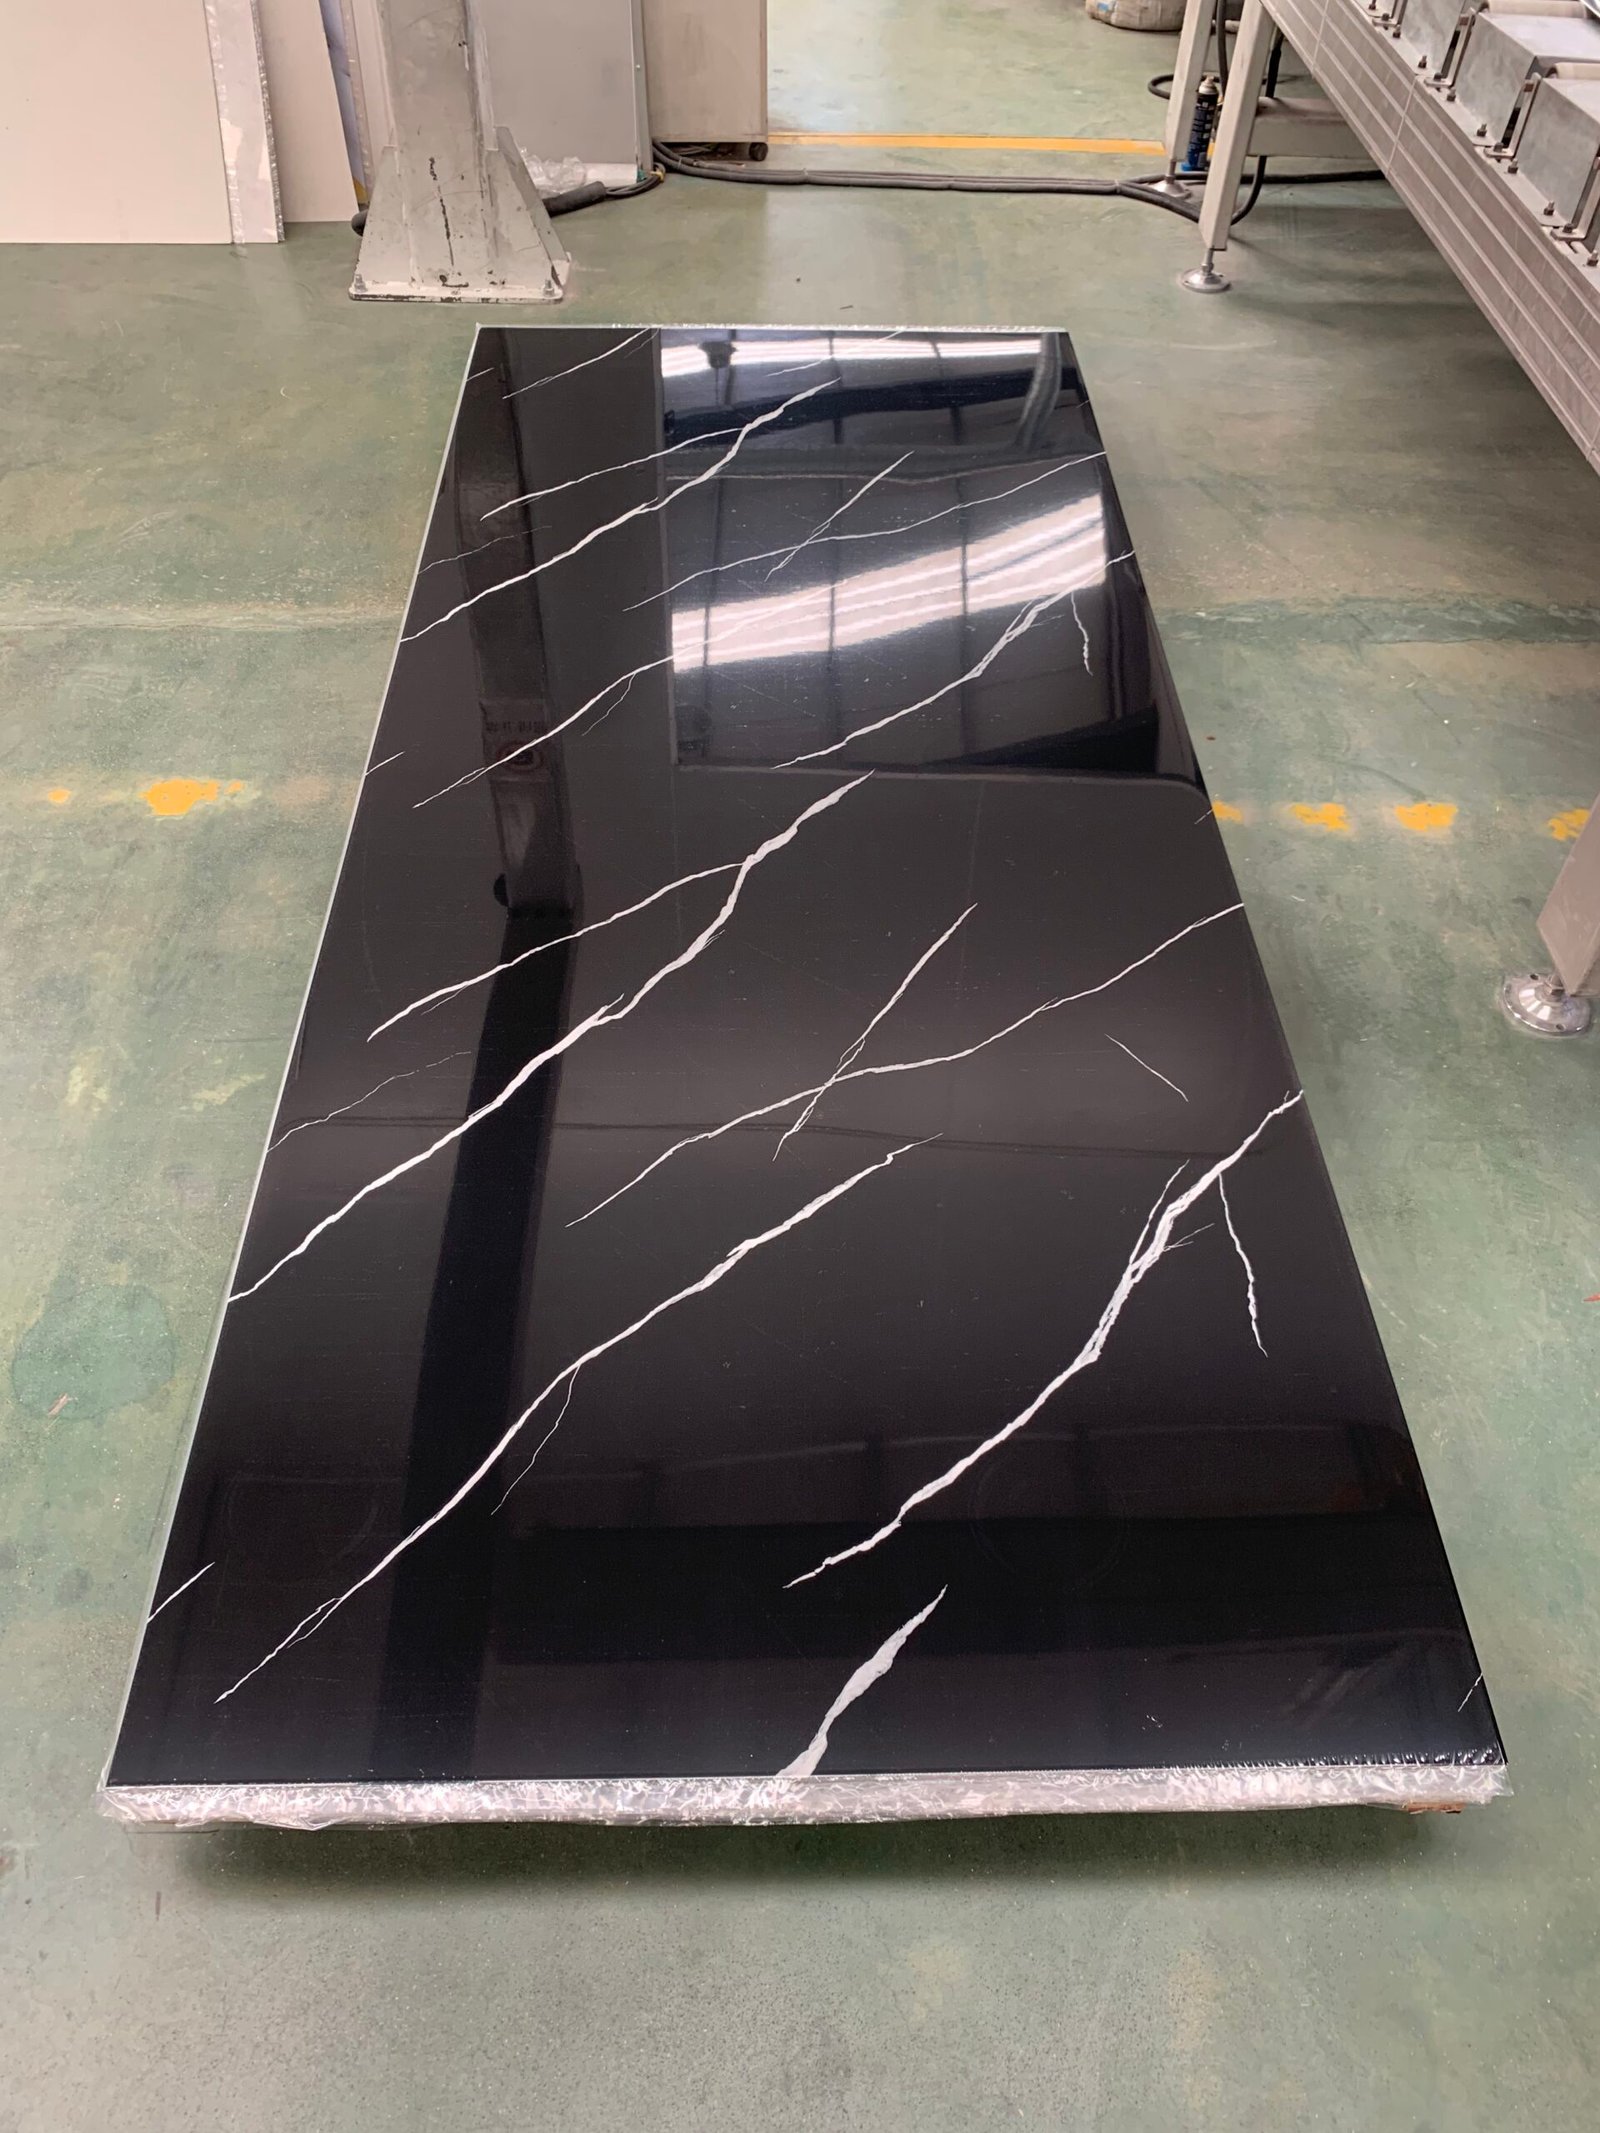
WPC wall panels are not all the same. Do you prefer the clean look of modern styles, or the warm feel of wood grains? Before deciding, browse our Case Inspiration section to find the most heartwarming design.
2. Choose the Material That Best Suits You:
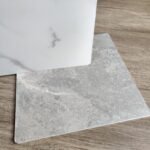
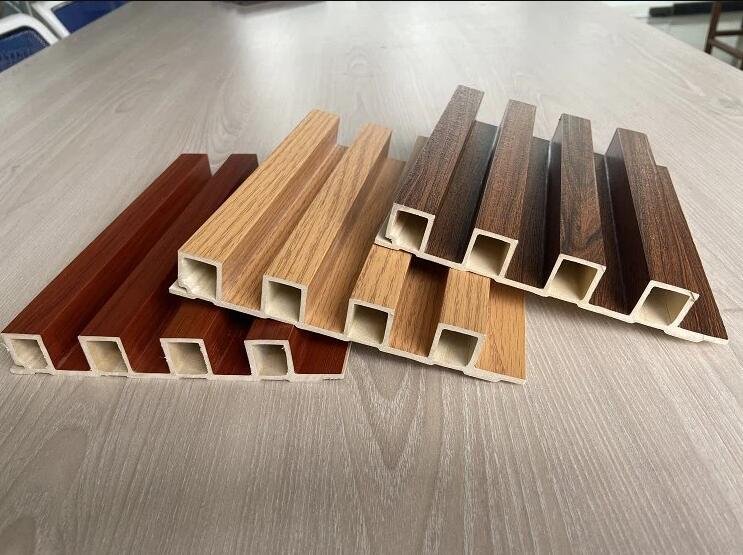
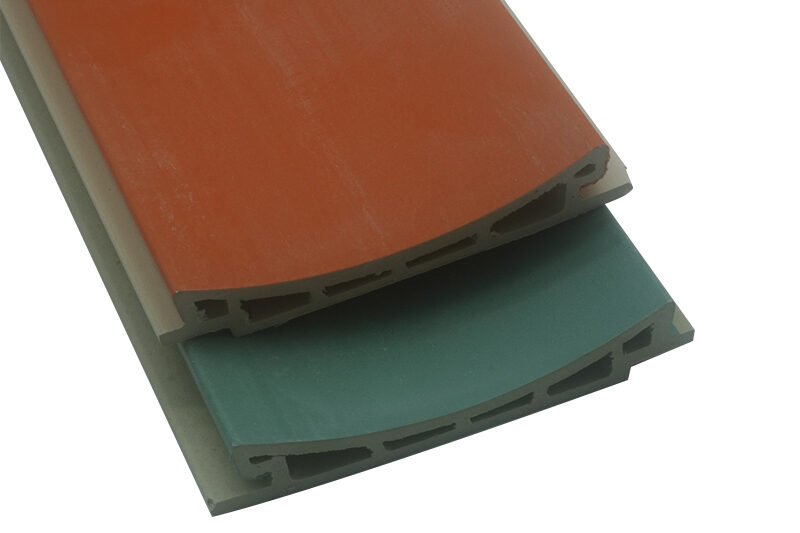
Solid wood panel: High quality texture, naturally warm, but the price will be more expensive and sensitive to changes in temperature and humidity.
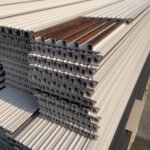
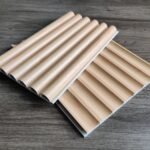
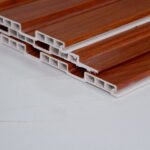
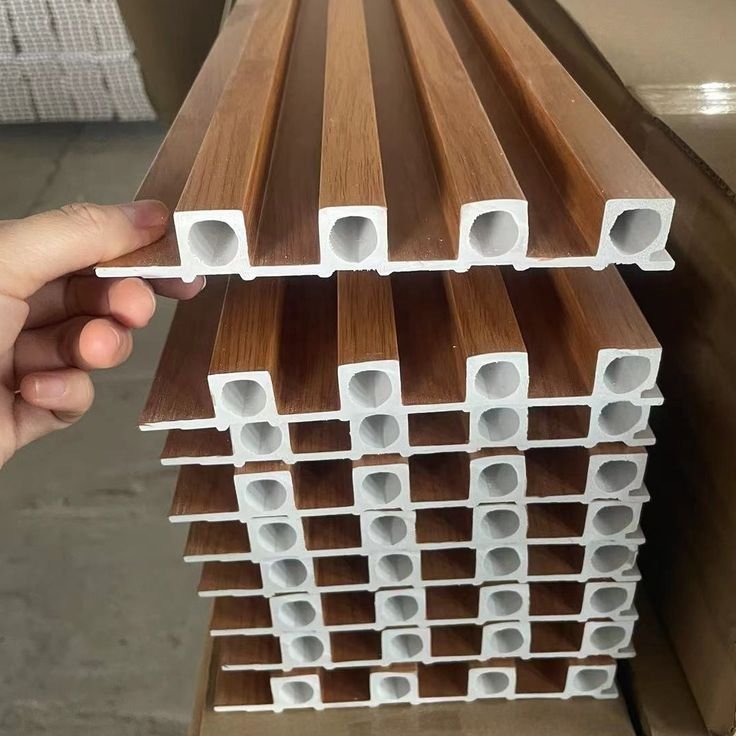
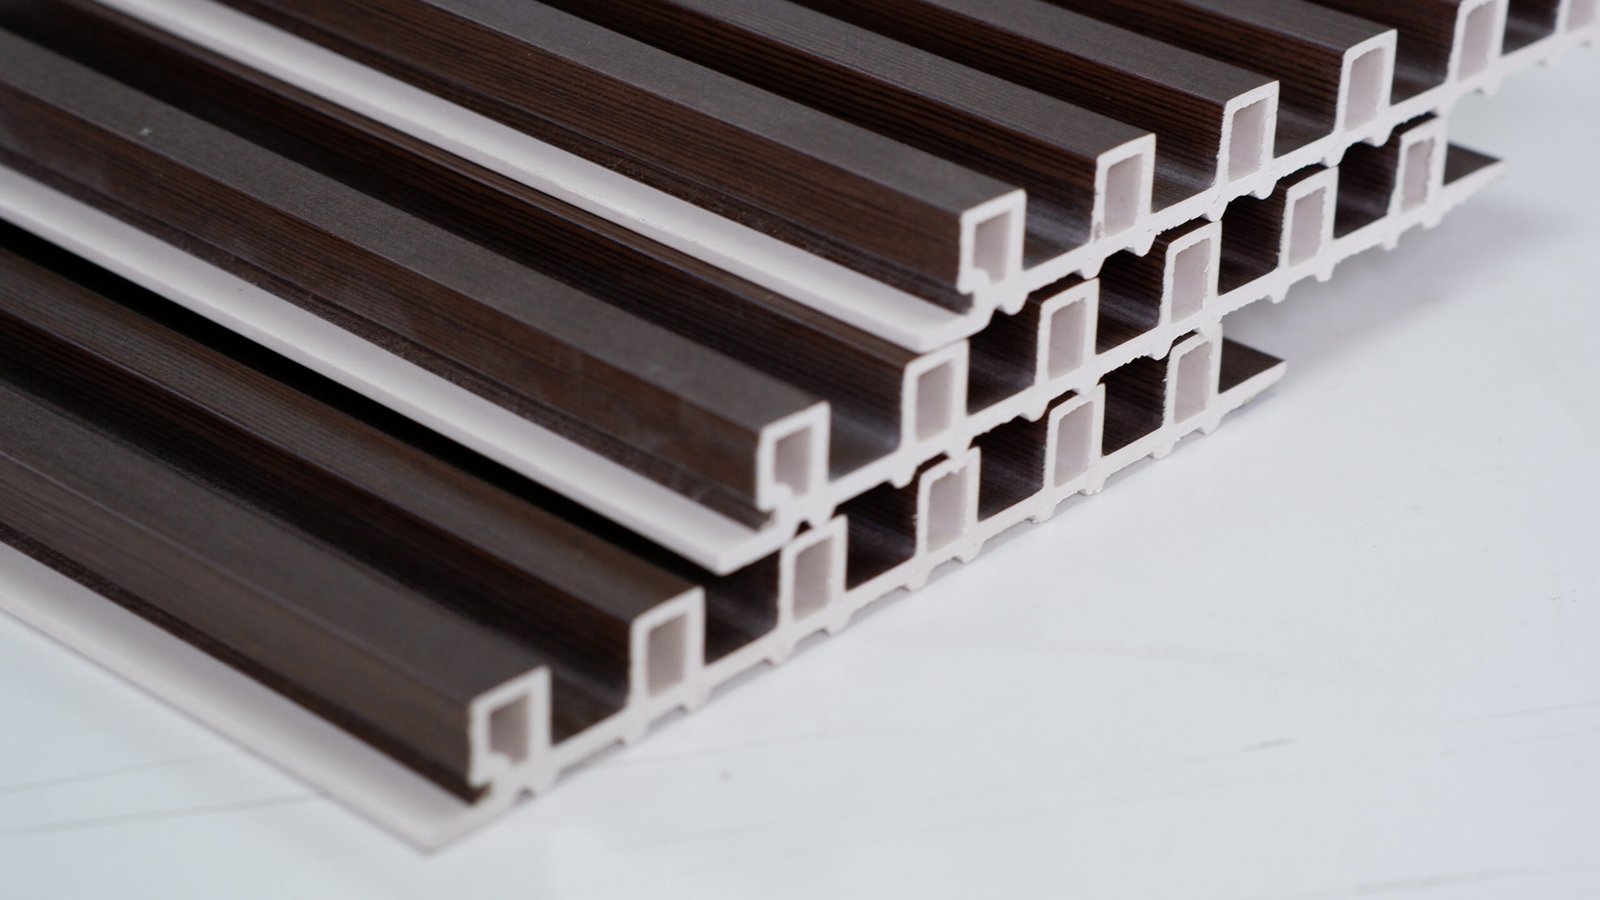
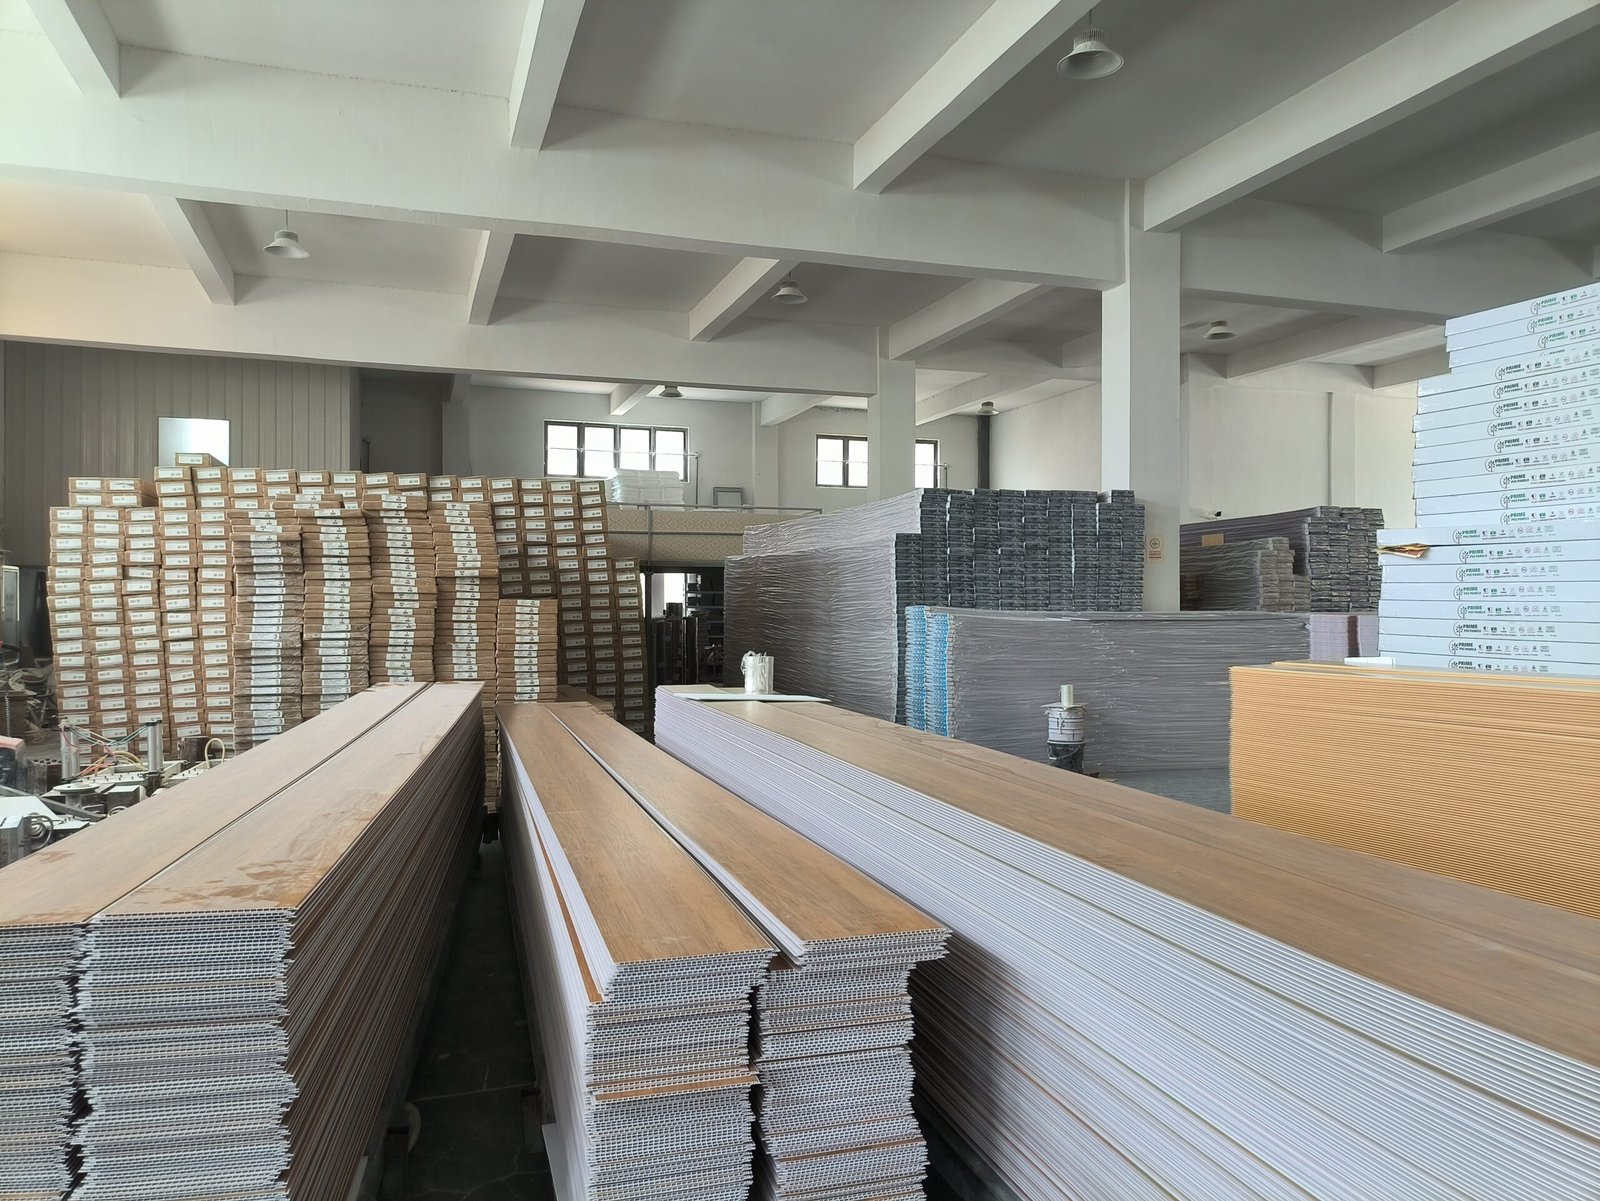
wpc wood wall panel: Our star product! Eco-friendly, zero formaldehyde, moisture-proof, wear-resistant, and easy to install. A high-cost-performance choice for home decoration.
Aluminum Alloy Panels: Suitable for modern and industrial styles, cool and sturdy.
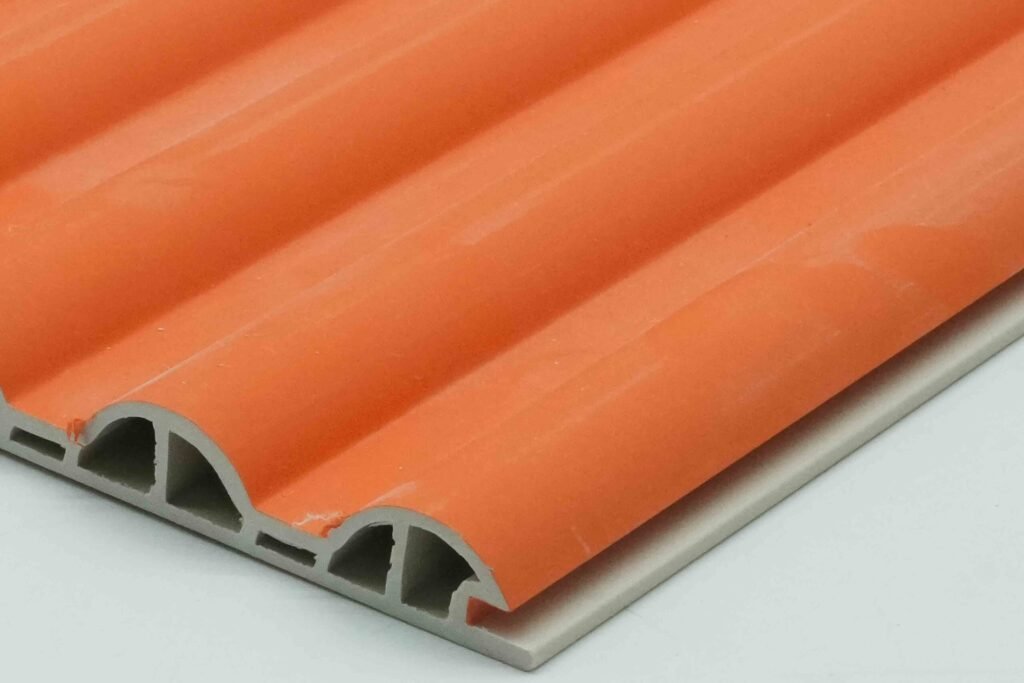
PVC wood wall panel: Excellent waterproofness, perfect for bathrooms and kitchens.
3. Precise Measurement and Calculation:
Take out a tape measure and accurately measure the length and height of your wall (in meters).
Tip: When calculating the number of panels needed, remember to divide the total area by the area of a single panel and then add an extra 5-10% waste margin to account for cutting errors and splicing loss. If you need help, our online customer service is ready to calculate for you!
4. Tool Preparation List (Your “Battle Gear”):
Core Tools: Laser Level (This is a magic tool to ensure straightness, don’t skip it!), electric screwdriver/impact drill, brad nailer (optional, but more efficient).
Cutting Tools: Table saw (best), or jigsaw.
Auxiliary Tools: Tape measure, pencil, rubber mallet, utility knife, scraper.
Consumables: High-quality construction adhesive (e.g., Silibao, Sika), same-color repair paste, mildew-resistant silicone sealant, screws, and wall plugs.
Chapter 2: Laying the Foundation – Perfect Wall Surface Treatment
Warning: Skipping this step is the source of 99% of installation problems!
A flat and clean wall surface can facilitate the installation of wood plastic panels. Be sure to:
1. Check Flatness: Use a long straightedge to check against the wall; if the gap is larger than 3mm, leveling is needed.
2. Thorough Cleaning: Remove all dust and oil stains. Any loose or peeling wall coverings or paint must be scraped off.
3. Leveling and Sanding: Fill all depressions with plaster or putty. After it is completely dry, sand it smooth with sandpaper. This step requires patience, but it’s worth it!
Chapter 3: Core Practice – Six-Step Installation Method
Step 1: Marking Lines – Draw Your “Lifeline”
Turn on your laser level and project clear vertical and horizontal lines on the wall. This line is the benchmark for all installation, the only guarantee against misalignment. Trace it lightly with a pencil and straightedge.
Step 2: Dry Layout and Precise Cutting
Do a mock assembly on the floor first to check the effect. Measure the actual size and mark it on the back of the wpc wood wall panel, then cut it. When cutting, be sure to wear safety glasses and a mask!
Step 3: Applying Adhesive
Apply construction adhesive on the back of the panel in a “dot” or “snake” pattern. Ensure the adhesive dots are even and keep a certain distance from the edges to prevent excessive squeezing and overflow.
Step 4: Mounting and Fixing (Adhesive + Mechanical Fastening)
Align: Press the panel firmly against the wall, aligning it with your marked benchmark line.
Press: Press evenly with your hands for initial adhesion.
Adjustment: Immediately use a rubber hammer to strike and adjust the placed wpc wood wall panel, and use a spirit level to confirm if it is level.
Reinforce: This is the most critical step! Drill holes with a machine and then screw the screws into the panel. The drilling should be done in inconspicuous locations such as edges, grooves, etc., or reinforced with nails. Never rely solely on adhesive! Dual fixation ensures stability for years to come.
Step 5: Repeat and Check
Install the WPC wood wall panel. If it’s a design with clips, align and snap the clips first, then repeat the adhesive application and fixing process. After installing every few panels, check the flatness of the entire surface with a long straightedge to identify and correct issues promptly.
Step 6: Detailing and Edging – Achieving Perfection
The high-end feel lies in the details. Use external corner beads, internal corner beads to handle corners, and use same-color mildew-resistant silicone sealant to perfectly fill the gaps between the WPC wood wall panel and the ceiling or baseboard. When dealing with switches and sockets, cut holes carefully for a seamless fit.
Chapter 4: Final Finishing and Inspection
1. Immediate Cleaning: While the adhesive is still wet, use a scraper and damp cloth to thoroughly remove any excess adhesive marks.
2. Perfect Repair: Fill all nail and screw holes with same-color repair paste to achieve “invisible” installation.
3. Final Inspection:
Visual Check: Is the overall surface flat? Are the gaps even? Are the lines straight?
Touch Check: Is the surface smooth and free of burrs? Is there any wobbling or hollow sound?
Enjoy: Step back and admire your masterpiece! Watch the light and shadow dance on the WPC panels, instantly elevating the quality feel of your home.
Professional Tips and FAQs
Q: How to avoid color differences?
A: Before installation, compare panels from different boxes. Panels with slight differences can be installed in secondary areas or behind furniture.
Q: What if the panels warp after installation?
A: This is usually caused by a damp or uneven wall base. Re-emphasizing the importance of base treatment!
Q: Can I install it by myself?
A: For small and medium-sized panels, yes. But for large areas or large-sized panels, it is highly recommended to find a helper for efficiency and safety.
Installing a WPC wall is a fulfilling creative journey. It’s not just about splicing panels; it’s proof of the effort you pour into your home.
We hope this detailed guide gives you enough confidence and help. If you still have doubts about material selection or want more inspiration, welcome to browse our Product Center. We have prepared a variety of eco-friendly, easy-to-install wpc wood wall panel options for you.